Work process
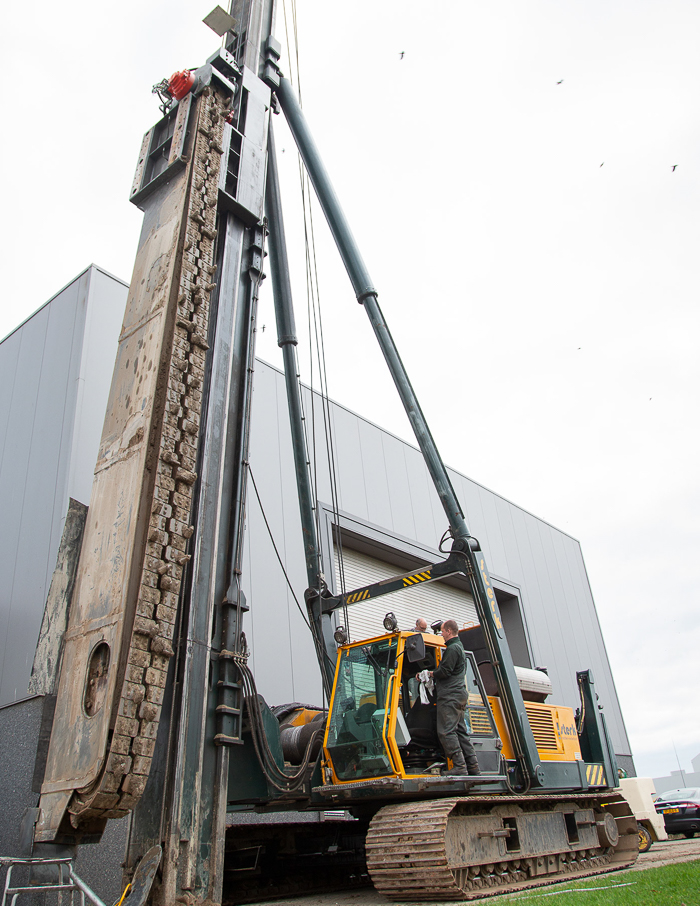
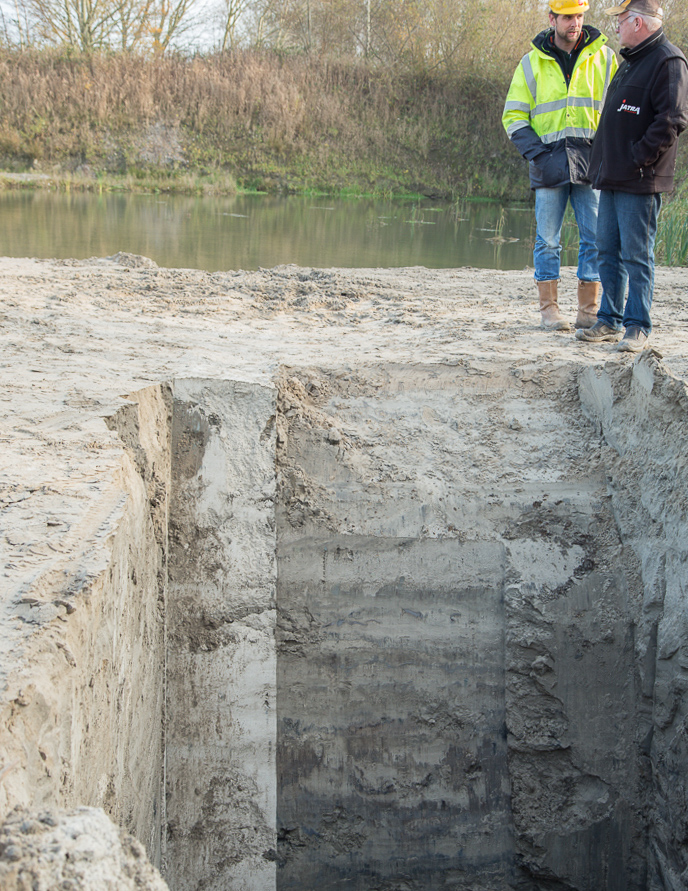
The E-Wall is performed in the following steps in a single pass:
- Position the milling cutter vertically at the desired depth in the ground.
- Route the slot in a forward motion.
- Move released soil material via side drain.
- Insert any reinforcement into the slot through the inside of the milling cutter.
- Fill and finish the slot with the desired filling material in a controlled manner
Information
We are happy to see how the E-Wall can best serve your project goals in co-creation. Please do not hesitate to contact us.
